Introduction
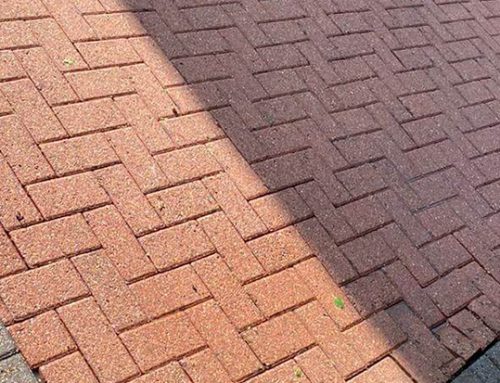
Are you tired of looking at the same old dirty driveway every time you get back or leave to go to work?
Having a stain-ridden and unsightly driveway is going to be bothering especially considering that a large driveway can cost up to a whopping £7200 to build in the first place.
If you’re tired of leaving your house and not seeing a pristine driveway after spending a lot of money to have it looking as impressive as it once did, then you’re in the right place to get it looking back to its best again!
Well, look no further! We have 10 tips for pressure washing your driveway and getting the best results so you don’t have to dread looking at your driveway again.
1. Brush down the driveway
The allure of being able to use a pressure washer on your driveway is always going to be difficult to resist.
However, before you start getting out the power tools, for the best results we would always advise to brush down the driveway first.
Simple methods are best for doing this as well, if you don’t already have one, I would highly recommend buying a stiff bristled brush to get any loose dust out of any joints or that has settled on your driveway.
Obviously, you’ll remove all of your vehicles from the driveway before starting to clean it, but a lot of people won’t think of where the debris that you’re clearing is ending up as well.
Making sure to close any nearby windows and cover any doors with a plastic covering (tarpaulin will work well) so you don’t have to end up cleaning the house after you’ve finished with the driveway.
2. Make sure to degrease as well
The allure of being able to use a pressure washer on your driveway is always going to be difficult to resist.
However, before you start getting out the power tools, for the best results we would always advise to brush down the driveway first.
Simple methods are best for doing this as well, if you don’t already have one, I would highly recommend buying a stiff bristled brush to get any loose dust out of any joints or that has settled on your driveway.
Obviously, you’ll remove all of your vehicles from the driveway before starting to clean it, but a lot of people won’t think of where the debris that you’re clearing is ending up as well.
Making sure to close any nearby windows and cover any doors with a plastic covering (tarpaulin will work well) so you don’t have to end up cleaning the house after you’ve finished with the driveway.
3. Get your pressure washer ready
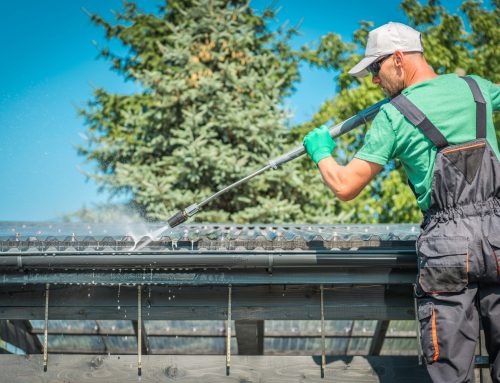
Now is the time you’ve most definitely been waiting for… using the pressure washer!
With any good pressure-washer, you’ll have a manual that comes packaged with it which is always worth reading. Some pressure washers have more or fewer features and it’s always helpful to know how to get them all working properly.
Pretty much every pressure-washer has the same initial set-up steps. Be sure to attach the spray wand to the pressure-washer using a pressure-hose.
Once this has been securely fastened, you’ll want to attach your pressure-washer to a water source and voila! You’re good to go.
Before you start washing, make sure that you are familiar with all the different nozzles that your pressure washer has, you’ll typically have a nozzle for applying detergent, rinsing, pressure-spraying etc.
4. Get your driveway looking as good as new
Now the fun begins!
Before washing down your driveway with a high-pressure water jet, you’ll first want to apply some detergent to the area that you want to clean.
To get an even spread of detergent, make sure to spray in overlapping sprays so that you’re not missing out on any grease stains or grime. Once you’ve been over the entire driveway and washed every square-inch of it, you can then leave the detergent to work its magic for 5 minutes.
Remove weeds
If you’re getting down in the nooks and crannies of your driveway already, then this is a better time than ever to start de-weeding as well!
The best way to make sure that your weeds don’t keep coming back is to use a strong weed killer and start grouting out the weeds using a hand-fork.
Make sure you fully cover the cracks once you’re done as well so you can ensure that the weeds don’t keep coming back. Using kiln dried sand and a brush will be more than enough to stop those pesky weeds from seeing another day!
Finally! It’s time to use the pressure washer!
Keep a bit of a distance away from the driveway to begin with (about 10-15 inches away) and only get closer to the driveway when you find a particularly stubborn piece of grease or grime.
5. Make sure you let your driveway dry
To get your driveway looking in tip-top condition, allow for it to dry overnight before un-doing any of your hard work by driving your car back onto it too early.
If you would like to go a step further, you can even look into applying a driveway sealant once the driveway has fully dried out.
Driveway sealant isn’t difficult to find in-store or online as well and can be applied using a paint roller that you don’t mind getting dirty.
6. Top up the joints with filler
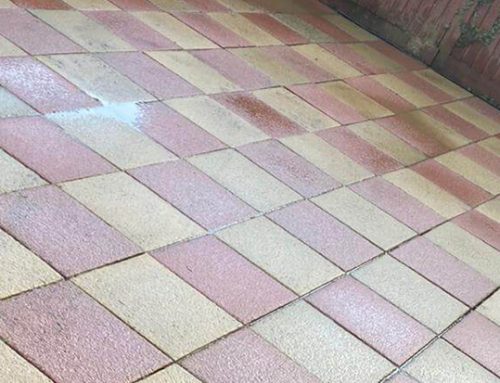
If your driveway isn’t concrete and is built using paving instead, then this would be a great time to look at the joints of where your paving slabs meet and whether they need topping-up at all.
If you’re seeing a lot of missing sand or weeds growing through the cracks which just keep coming back time and time again, we would recommend pouring in some kiln dried sand to really help seal any empty areas that continue to cause problems for you.
To do this, all you have to do is pour over the sand onto the areas you wish to top-up (make sure this is on a dry driveway as well!) and use a stiff bristled brush to get into the cracks.
Need a professional to clean your driveway?
If you’re busy and need a professional to make sure that your driveway is looking as good as it did when you first had it built out for you, then here at S&L Pressure Washing we’re on hand to take care of any cleaning job you may need doing.
Book an appointment with us today to see how we can help restore your home to its former glory!

